In previous articles, we have introduced the environment for accelerating development using QEMU + Buildroot to build ARM64 (https://moon-half.info/p/4051). This approach can successfully create a small environment to test developed programs. However, after all, it is not a complete Linux distribution and lacks many things compared to general Ubuntu, such as gcc.
The reason for compiling on ARM64 is to port Python3 to the product. But one of the advantages of Python is that there are already many pre-compiled or well-organized packages, so you don’t have to recompile them one by one. I was also at a loss as to how to do these things with only a Buildroot environment. So I thought that in ARM64 Linux, using pip to install everything and then packaging it all together and placing it on the target would be fine!
And it really works!
This article uses QEMU to run Ubuntu 20.04 ARM64 and pairs it with miniconda to use python3.7 (coordinated with the target’s Python version), establish the environment, and install packages.
Install Ubuntu ARM64 with QEMU
Download ISO file
Firstly, you need to download the ARM64 ISO file of Ubuntu. You can find relevant information by searching online for “ubuntu arm64 iso download”. There may be Raspberry Pi versions, server-live versions, etc. http://old-releases.ubuntu.com/releases/ has comprehensive collection, listing all versions and files for different platforms.
However, the version downloaded from the website had the word “live-server” in it, which sounded uncomfortable to me, so I didn’t download it. The location of the legacy version is https://cdimage.ubuntu.com/ubuntu-legacy-server/releases/20.04/release/. The file I finally downloaded is ubuntu-20.04.1-legacy-server-arm64.iso.
Installing packages and generating image files
Because most QEMU ARM64 articles start with specifying the kernel directly. Actually, I have no idea how to install ARM64 environment from an ISO. So, I follows then content based on this article.
First, install the package.
|
1 |
sudo apt install qemu-system-arm qemu-efi-aarch64 qemu-kvm qemu-efi |
Then issue the following commands to create two block devices which will act as flash. The first one (flash0.img), written in the QEMU EFI image contained in the just installed kit.
|
1 2 3 |
dd if=/dev/zero of=flash0.img bs=1M count=64 dd if=/usr/share/qemu-efi/QEMU_EFI.fd of=flash0.img conv=notrunc dd if=/dev/zero of=flash1.img bs=1M count=64 |
And use qemu-img to create a system disk. Here we use the raw format instead of qcow2. This makes it easy to move the created environment to Windows for use.
|
1 |
qemu-img create fs.img 20G |
Installing System
Finally, start QEMU and specify the location of the flash, hard drive, and ISO file to perform the installation using the following command.
|
1 2 3 4 5 6 |
ISO=ubuntu-20.04.1-legacy-server-arm64.iso FS=fs.img qemu-system-aarch64 -m 2048 -cpu cortex-a57 -M virt -bios flash0.img -nographic \ -drive if=none,file=$ISO,id=cdrom,media=cdrom -device virtio-scsi -device scsi-cd,drive=cdrom \ -drive if=none,file=$FS,id=hd0 -device virtio-blk-device,drive=hd0 \ -smp 4 -net nic -net user,hostfwd=tcp::2222-:22 |
The next steps are roughly the same as for a typical x86 Linux. Since it is cross-platform simulation, it is relatively slow, so please be patient and wait~
After installation, delete the 4th line to avoid booting from the ISO and entering the installation process again.
After entering the ARM64 Linux environment, you need to install the gcc package in order to compile source code when using pip.
|
1 |
sudo apt-get install build-essential |
Install Miniconda
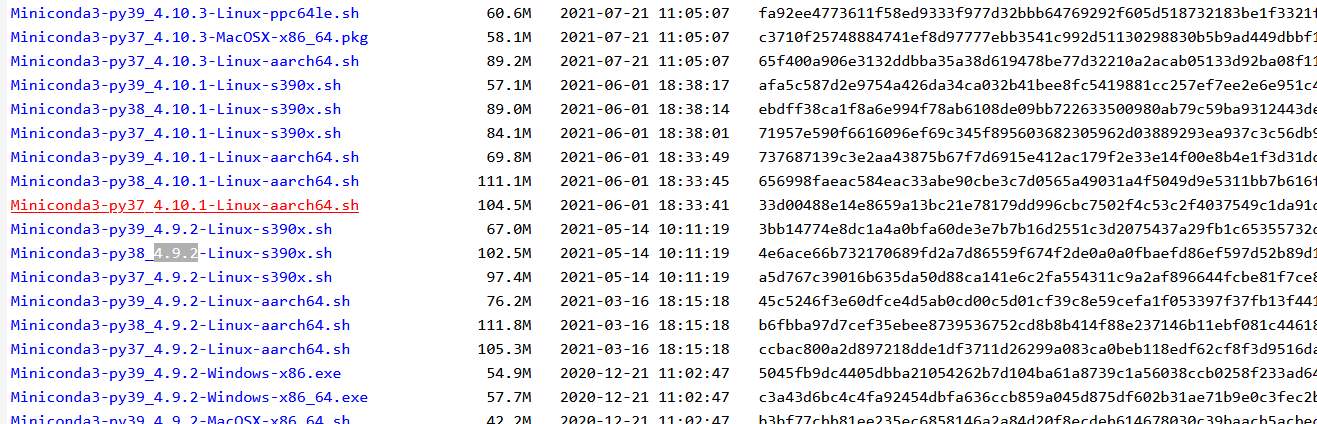
As we mentioned before, the purpose of using Ubuntu ARM64 is to migrate binary files to target platform. Here, I use miniconda python3.7 4.9.2. For other versions, you can find them at https://repo.anaconda.com/miniconda/.
Due to the compatibility of Python versions being determined by the first two digits of the version number, it is important to choose the right version for similar actions. For example, 3.7.5 and 3.7 are compatible, but not with 3.6 or 3.8.
Install packages in Conda environment
Due to the fact that Ubuntu ARM64 is not included in the official support list, it is in a state of having bugs and may or may not be fixed. However, general operations seem to be okay. The problem occurs when using conda, such as an “illegal instruction,” which may be due to differences in instruction sets for different ARM64 CPUs or other unknown issues.

This version of miniconda’s base environment is functioning properly after installation and can be used to normally install packages with pip. However, if a new environment is created, it will crash as soon as pip is executed. I was trying other versions and having similar problems.
Collecting the packages
Taking advantage of this opportunity, I also learned about the installation behavior of .whl files, which roughly involves placing the contents of the decompressed file in $CONDA/lib/python3.x/site-packages/. If you want to force install some packages, you can do it this way. The directory $CONDA/lib/python3.x/lib-dynload/ will also contain some files that are installed during the process, but it is not clear whether they differ from those directly decompressed. This directory refers to the installation using the base environment directly, and if there is a created env operation, it will be located in $CONDA/envs/.
After creating a new environment or reinstalling conda, install the packages you want. Finally, package up the $CONDA/lib/python3.x directory and overwrite the relative directory of the Python 3.7 environment in target, and you’re done.
I installed the Streamlit package and it downloaded a lot of additional things, which would take up about 355MB. I can do some stripping and delete files like test/, but the effect is not significant. After packaging with squashfs xz, it is about 80MB.
|
1 2 3 4 5 6 7 8 9 10 11 12 13 14 15 16 17 18 19 20 21 22 23 24 25 26 27 28 29 30 31 32 33 34 35 36 |
(base) ubuntu@ubuntu:~$ ls ~/miniconda3/lib/python3.7/site-packages/ GitPython-3.1.40.dist-info Jinja2-3.1.2.dist-info MarkupSafe-2.1.3.dist-info OpenSSL PIL Pillow-9.5.0.dist-info Pillow.libs PySocks-1.7.1.dist-info Pympler-1.0.1.dist-info README.txt __pycache__ _cffi_backend.cpython-37m-aarch64-linux-gnu.so _distutils_hack _pyrsistent_version.py altair altair-5.0.1.dist-info attr attrs attrs-23.1.0.dist-info backports backports.zoneinfo-0.2.1.dist-info blinker blinker-1.6.3.dist-info brotli brotlipy-0.7.0-py3.7.egg-info cachetools cachetools-5.3.2.dist-info certifi certifi-2020.12.5-py3.7.egg-info cffi cffi-1.14.5.dist-info chardet . . . |
Other
Since some packages also need to be recompiled, when selecting an ARM64 Linux version for installation, it is best if the inside gcc version is lower than the target gcc version. This can avoid compatibility issues with libraries. As for how to know which version of gcc is inside, you still have to try installing it to find out.


